A monthly planner is more than just a calendar—it’s a powerful tool for organizing your life, managing time effectively, and staying focused on your goals. Whether you want to streamline your daily routines, track habits, or set actionable steps for personal and professional growth, a monthly digital planner can help. In this guide, we’ll cover everything from the basic purpose of a monthly planner to how to fill it out efficiently for maximum productivity.
What is a monthly planner?
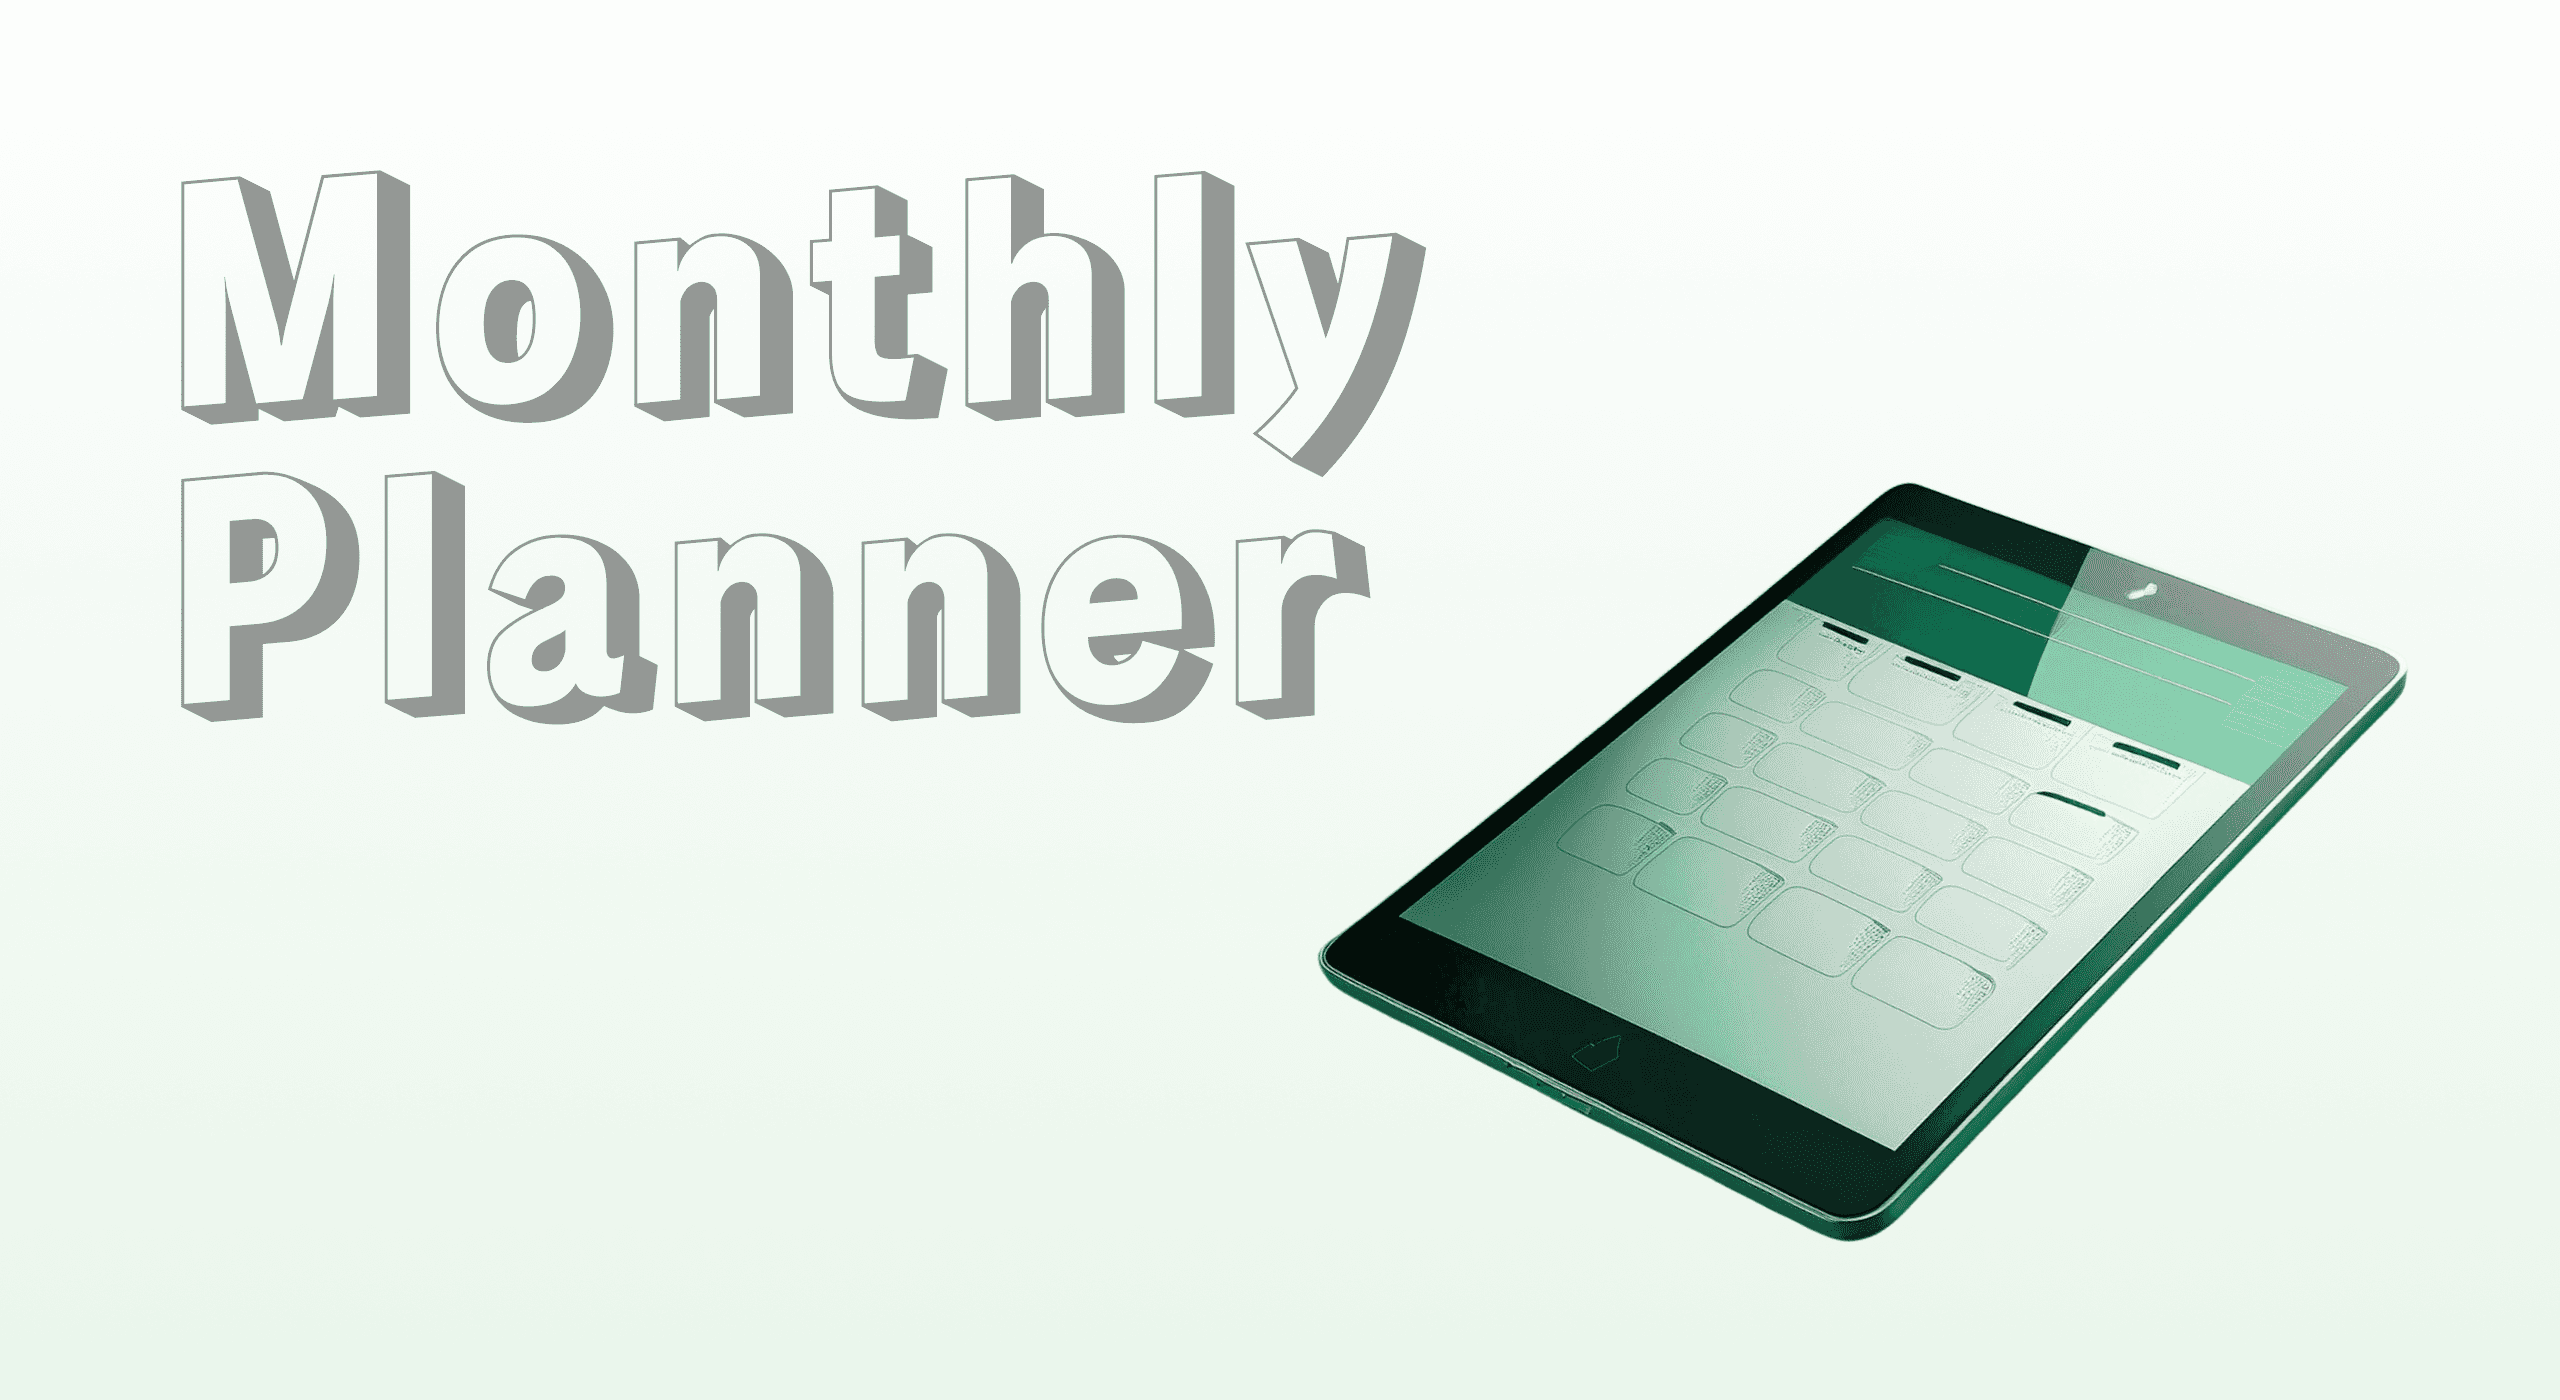
At its core, a monthly planner is a calendar-based tool designed to give users an overview of an entire month at a glance. It’s typically used to record appointments, deadlines, events, and long-term goals. However, a well-utilized planner can offer so much more—it becomes a space for goal-setting, habit tracking, and organizing to-do lists. With the right approach, it’s your daily roadmap to success.
Why use a monthly planner?
A monthly planner helps you:
Stay organized: Manage tasks, events, and deadlines with a clear visual layout.
Boost productivity: Break down goals into actionable steps and stay on track.
Reduce stress: Avoid last-minute rushes and missed appointments by planning ahead.
Improve time management: Allocate time effectively to ensure balance in work, hobbies, and self-care.
What to put in a monthly planner?
If you're new to using planners, you might wonder what exactly goes into a monthly layout. Here are some essential items to include:
1. Important dates
Start by marking crucial events like birthdays, anniversaries, and deadlines. Highlighting these helps ensure you won’t forget them amid your busy schedule. Using color-coded pens or stickers makes it easy to distinguish between personal and professional events.
2. Appointments and meetings
Add any appointments, from work meetings to doctor’s visits. Keeping everything in one place saves you from double-booking your time. Not sure whether a daily or weekly layout suits you? See our detailed comparison of daily vs weekly planners for more clarity.
3. Monthly goals
Set your goals for the month, both big and small. Break these into categories like personal development, career, relationships, health, and finances. Clearly writing down your objectives gives your month a sense of direction and focus.
4. Tasks and to-dos
Write down your priority tasks for the month, and categorize them by week. Breaking tasks into manageable chunks will keep you from feeling overwhelmed.
5. Habit tracking
Use a habit tracker to monitor behaviors you want to build or maintain. Popular habits to track include exercise, water intake, meditation, and sleep. Including these on your planner keeps you accountable.
6. Notes or reflections
Leave space for any miscellaneous notes or personal reflections at the end of the month. This section can also serve as a journal entry for what went well, and what could be improved next month.
How to fill out a monthly planner effectively
Filling out a monthly planner doesn’t need to be overwhelming. With a step-by-step approach, you can turn your planner into an indispensable tool for success.
Step 1: Reflect on the past month
Before planning for the new month, take a few minutes to reflect on the last one. What goals did you accomplish? What tasks remain unfinished? Reflection allows you to make realistic adjustments and focus your energy on what matters most in the upcoming month.
Step 2: Define your goals
Next, think about what you want to achieve in the new month. Your goals can range from fitness milestones to work projects or personal achievements like learning a new skill. Break these goals down into smaller, more manageable steps.
For example, if your goal is to run a 5k by the end of the month, plan to increase your running distance each week.
Step 3: Mark important dates
Transfer key dates and appointments from digital calendars or email reminders into your monthly planner. This step ensures that all commitments, from work deadlines to social engagements, are consolidated in one place for quick reference. If you're thinking about making the switch from paper to a digital planner, read our guide on how to transition from paper to digital planning.
Step 4: Use a monthly overview
The monthly overview offers a bird’s-eye view of your commitments. Use this space to jot down significant events and deadlines. Seeing the entire month laid out helps you identify busy periods, which allows for proactive scheduling adjustments.
Step 5: Break down tasks weekly
After mapping out the month, start breaking it down into weekly goals. Distribute tasks across weeks, keeping your overall workload manageable. Be flexible with how you schedule tasks—this is a great time to incorporate time blocks for deep work or allocate days for specific themes like “meeting days” or “focus days”.
For more tips on how to stay organized, check out our article on how to maximize productivity with a digital planner.
Step 6: Incorporate a habit tracker
A habit tracker is a fun and motivating way to hold yourself accountable for your daily or weekly routines. It could be something as simple as drinking 8 glasses of water, meditating for 10 minutes, or going for a daily walk. Including a habit tracker in your monthly planner makes it easy to monitor progress visually.
Step 7: Schedule regular reviews
To stay on top of your plans, allocate time for weekly reviews. At the end of each week, evaluate your progress and adjust any tasks for the upcoming week. This regular check-in helps you make necessary adjustments, celebrate small wins, and set the tone for a more productive week ahead.
Final tips on filling out a monthly planner
Personalize it
Make your planner your own. Use highlighters, stickers, or even washi tape to give it a personal touch. Adding visual flair makes your planner enjoyable to use, which in turn increases the likelihood of sticking to it.
Be flexible
Life happens. Don’t feel locked into your planner. Allow for flexibility, knowing that adjustments are part of the process. Regularly updating and revising your plans keeps you on track without feeling stressed
At the end of each month, reflect on what you’ve accomplished. Celebrating small wins helps you maintain motivation and recognize how much you’ve achieved.
Conclusion
A monthly planner is a dynamic tool that can significantly boost your productivity, helping you stay organized and focused. By setting clear goals, organizing your tasks, and maintaining flexibility, you can turn your monthly planner into a roadmap for personal and professional success. Follow these steps to not only fill out your planner effectively but also to create a system that keeps you moving toward your long-term goals.